Bootstrap Radio Input
Overview
From time to time the small items turn out to be really the super critical considering that the whole entire image is in reality a entirely consisting of plenty of very small aspects polished and collected for you to feature and check like a well-oiled shiny machine. These types of spicy words might probably look a bit too much whenever it comes to create commands however assuming that you just think about it for a bit there is actually only a single component letting the site visitor to get one out of a several obtainable options. Therefore in the event that you're having a couple of forms using this sort of selections controls over your different web sites does this suggest they are going to all look alike? And most importantly-- would you agree to that?
Fortunately for us current version of the absolute most famous mobile phone friendly framework - Bootstrap 4 arrives completely stuffed with a bright brand-new concept to the responsive behavior of the Bootstrap Radio Button commands and just what is bright new for this edition-- the so called customized form regulations-- a palette of predefined visual appeals you can just get and use if you want to bring in the so desired nowadays variety in the functional demonstrations of quite uninteresting form components. In this degree let's take a look precisely how the radio switches are meant to be described and styled in Bootstrap 4. ( useful source)
Effective ways to utilize the Bootstrap radio button:
If you want to set up a radio switch we initially need a
<div>.form-check.form-check-inline.radio.radio-inline.disabledWithin the
.form-check<label>.form-check-label<input>.form-check-inputtype = “radio”name = “ ~ same name for all the options ~ ”id = “ ~ unique ID ~ “value=” ~some value here ~ ”disabled<input>This is also the location to identify in the event that you want the radio control to first load like checked as soon as the webpage gets loaded. In the event that this is actually what you're after-- in place of
disabledchecked<input>checkedCheckbox and also Bootstrap Radio Style for examples
The checked state for these buttons is only updated via click event on the button.
Take note that pre-checked buttons need you to manually bring in the
.active<label>Checkbox

<div class="btn-group" data-toggle="buttons">
  <label class="btn btn-primary active">
    <input type="checkbox" checked autocomplete="off"> Checkbox 1 (pre-checked)
  </label>
  <label class="btn btn-primary">
    <input type="checkbox" autocomplete="off"> Checkbox 2
  </label>
  <label class="btn btn-primary">
    <input type="checkbox" autocomplete="off"> Checkbox 3
  </label>
</div>
Radio

<div class="btn-group" data-toggle="buttons">
  <label class="btn btn-primary active">
    <input type="radio" name="options" id="option1" autocomplete="off" checked> Radio 1 (preselected)
  </label>
  <label class="btn btn-primary">
    <input type="radio" name="options" id="option2" autocomplete="off"> Radio 2
  </label>
  <label class="btn btn-primary">
    <input type="radio" name="options" id="option3" autocomplete="off"> Radio 3
  </label>
</div>
Radio button approach
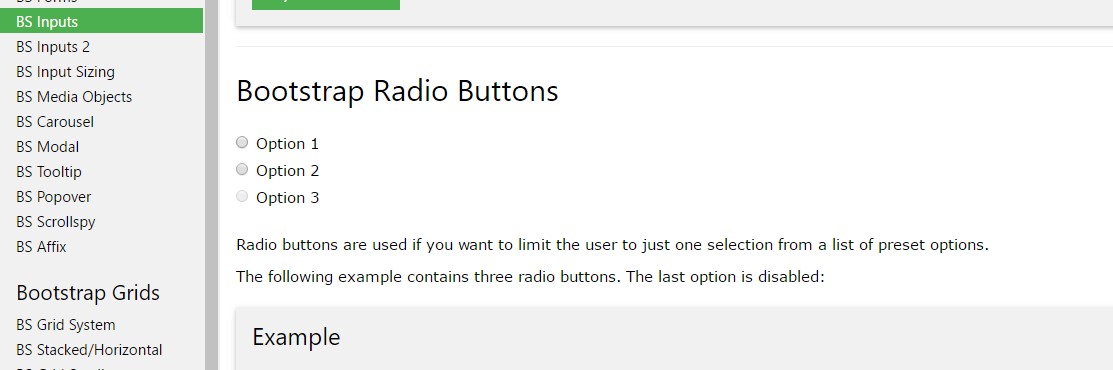
We can use input components of the radio type anytime we would like the user to select just one of a set of options. ( click here)
Anytime there is over a single feature of this style with the same value with the name attribute, only one can possibly be chosen.

<div class="row">
  <div class="col-lg-6">
    <div class="input-group">
      <span class="input-group-addon">
        <input type="checkbox" aria-label="Checkbox for following text input">
      </span>
      <input type="text" class="form-control" aria-label="Text input with checkbox">
    </div>
  </div>
  <div class="col-lg-6">
    <div class="input-group">
      <span class="input-group-addon">
        <input type="radio" aria-label="Radio button for following text input">
      </span>
      <input type="text" class="form-control" aria-label="Text input with radio button">
    </div>
  </div>
</div>
Conclusions
Primarily this is the manner in which the default radio switches get identified and perform along within Bootstrap 4-- now all you need are several options for the site visitors to choose from.
Inspect a few on-line video guide relating to Bootstrap Radio Button:
Related topics:
Bootstrap buttons formal records
Bootstrap Radio button - article
Checkbox radio buttons break entire toolbar styling
